How to Prime Your Canvas for Acrylics
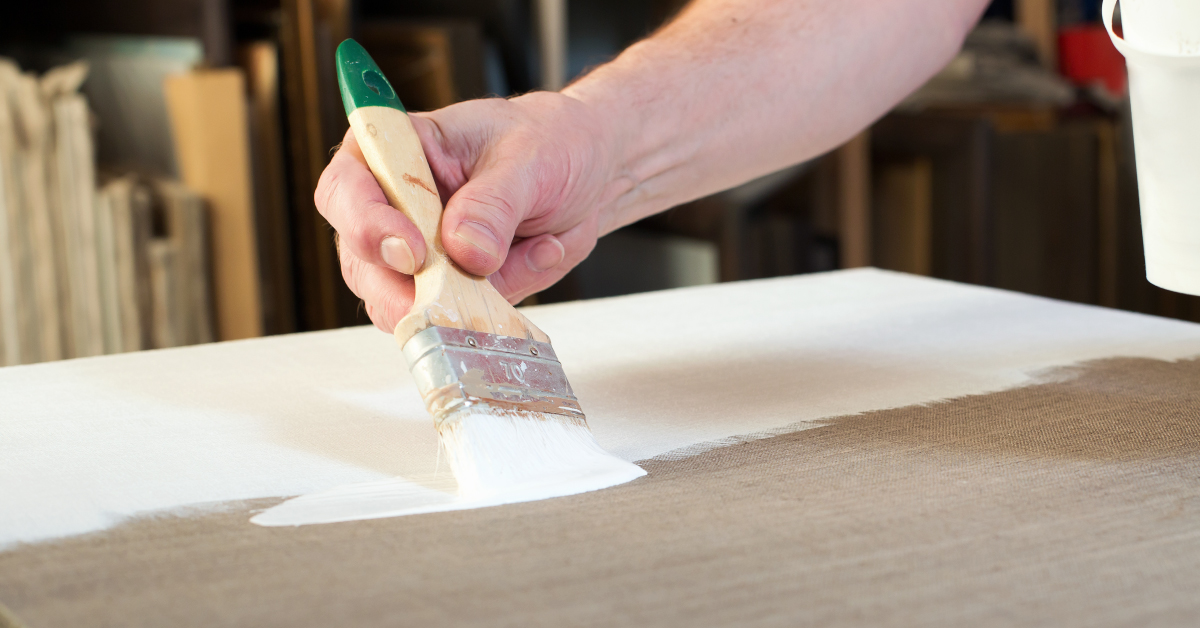
 The key to creating the best painting surface and preserving the life and look of your artwork is by priming your canvas. Priming is the process of creating a barrier between the canvas and the paint of a painting. Typically this is done by applying layers of acrylic gesso, clear acrylic medium, or traditional hyde glue and oil priming white. The primer does several things to help your artwork look it’s best and last a lifetime, and it’s surprisingly easy to do. Gesso serves as a waterproof surface that allows your paint to spread evenly across the canvas. It also helps your paint to maintain the intensity of its colors while protecting the canvas from the natural corrosion that’s caused by the acidic quality in many paints.
There are plenty of techniques and options to choose from when priming your canvas but we’re only going to focus on the best tools and practices used by artists today.
Best Tools & Practices
The basic tools you’ll want ready in addition to your gesso and raw canvas are a broad application brush and mixing stick. There are a couple of things to keep in mind before beginning the priming process. Because gesso dries into a waterproof state, thus providing the best painting surface for acrylics, you’ll want to make sure that you properly clean your tools in between layers and after priming to avoid damaging them.
It’s also wise to work quickly as gesso dries fast and you want to make sure every coat is applied evenly and that each layer is lightly sanded flat before beginning the next. Primers typically have “plastic” elements within their makeup. Once dried it creates a protective layer between your raw canvas and environmental inconsistencies, like heat or humidity, which can naturally cause your canvas to shrink or expand.
Center Out Technique
Start in the center with a square by brushing the primer on with both horizontal and vertical strokes. Follow the natural weave of the canvas as you alternate between the two and evenly spread out the gesso toward the edges. Spread the primer on quickly so that every brush stroke is slightly overlapping with the previous damp strokes from the time before. This process of working from the center outward allows you to ensure an even coating without doubling up the application of primer in any particular spot and creating inconsistencies on your painting surface. Always lightly sand down each layer after drying before applying the next coat.
Corner Squares Technique
Another technique that proves to be systematically quick and highly effective is the row, or corner squares, technique. Pick a corner of your canvas and brush a small square, alternating the direction of your strokes to follow the weave of the canvas. Then move along the row to create another small square next to the previous one. Again, remember to allow the edges of your brush to overlap with the previous, damp strokes of gesso so that there are no gaps in your coat of primer.
Advance Priming Techniques
Instead of gesso, you can use a clear acrylic medium that dries transparent and matte instead of bright white. You can also try pre-tinted gesso, or even DIY tint your white gesso for an entirely different look. A personal favorite is that by using acrylic modeling paint, you can create a unique texture on your canvas similar to many of the stunning acrylic paintings you see in galleries. To learn how to apply this type of primer, I suggest speaking to an associate at your local art supply store and talk to one of the friendly staff members to learn more.
Pro tip! To make your gesso containers last as long as possible, you should use a damp cloth to wipe down the sides of the container and lid before sealing them into place. This allows the gesso to remain moist while preventing the lid from gluing itself shut.
Delaware