How to Design Your Own Color Wheel
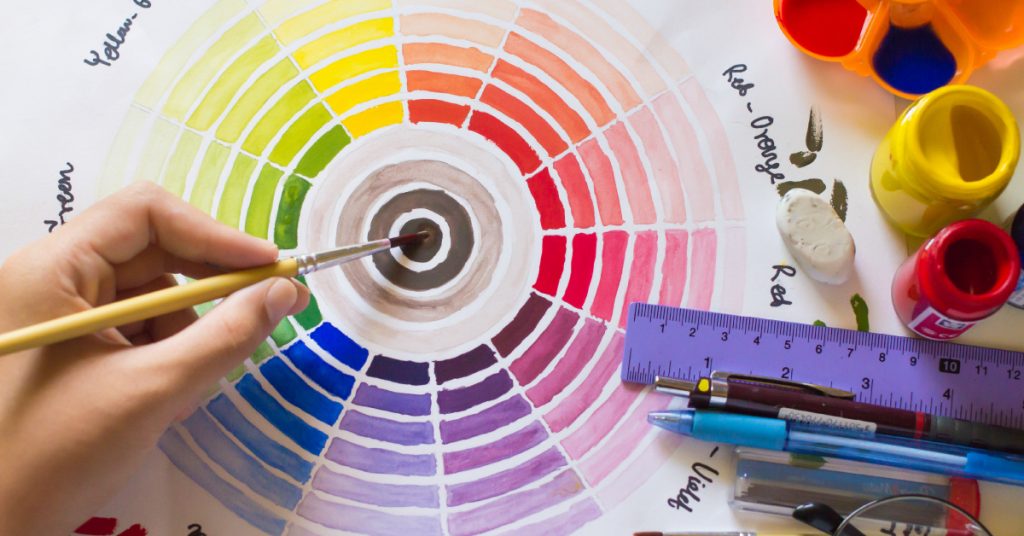
 Making a color wheel is a fun project for artists of all ages. A color wheel shows you exactly what your paints will look like when mixed in equal proportions. This is great for beginners as they learn to mix colors and understand how complementary and analogous colors work together in a design. For more experienced artists, the color wheel is a useful shortcut to mix hues into the precise colors needed for an original work.
Ready to make your own color wheel? Roll up your sleeves and gather your art supplies to get started.
Materials
- white paper (preferably wet strength cartridge paper)
- a compass and pencil
- a ruler or straight edge
- a protractor
- a paintbrush
- artist’s palette or mixing tray
- acrylic paints in red, yellow and blue
Instructions
- Start by using the compass to draw a medium to large circle on your paper. If you didn’t make a hole in the paper, mark the center point with a pencil for reference.
- Use your ruler or straight edge to draw a horizontal line across the circle through the center point.
- Next, place your protractor on the line with the center of the protractor over your circle’s center. Make marks at 30, 60, 90, 120, and 150 degrees.
- Use your straight edge to form lines by connecting each angle mark to the center point. Draw a line through these points and straight across the circle to form wedges. When you’re finished, you’ll have 12 sections in your color wheel.
- Pressed for time? Don’t have a protractor? You can estimate your angles by dividing your circle into quarters and then dividing each quarter into thirds. It may not be perfect, but it’ll get the job done!
- Paint one section of your color wheel pure red. Count three white sections to the right and paint the next section pure yellow. Count three more white sections and paint the next section pure blue. These are your primary colors, and they should be evenly spaced around your color wheel.
- Next, mix your secondary colors. Start by mixing equal parts red and yellow. Then paint this color in the section midway between the red section and yellow section on your wheel. You should have a white section remaining on either side of the orange portion of your wheel. Repeat the process to make green from yellow and blue and to make violet from blue and red. Add these secondary colors to your wheel in the appropriate locations.
- Finally, it’s time to mix the tertiary colors. These are formed by mixing equal parts of a secondary color with a primary color. For example, when you mix red and orange, you get red-orange. Paint this color in the spot in between red and orange on your color wheel. Continue to mix equal parts of your secondary and primary colors by working your way around the wheel to fill in the blank spaces.
- Finally, it’s a good idea to label your color wheel. In order, your colors should go around the wheel as follows: red, red-orange, orange, yellow-orange, yellow, yellow-green, green, blue-green, blue, blue-violet, violet, red-violet.
With just the three primary colors, you can create a rainbow of colors thanks to some careful mixing. To get started on your next art project, come find everything you need at Jerry’s Artarama, Raleigh’s best art store for painters, crafters, and artists from all walks of life.
Raleigh, NC